Joint-Friendly Techniques for Steep Sections
We're talking proper footwork, using trekking poles, and pacing strategies. These methods actually reduce strain on knees and hips when you're tackling those challenging slopes.
Why Steep Sections Matter
Most people dread steep terrain. But here's the thing — it's not the slope itself that causes joint pain. It's how you move up and down that makes all the difference. With the right technique, you'll notice less strain on your knees and hips, faster recovery after hikes, and genuine confidence tackling those challenging sections of trail.
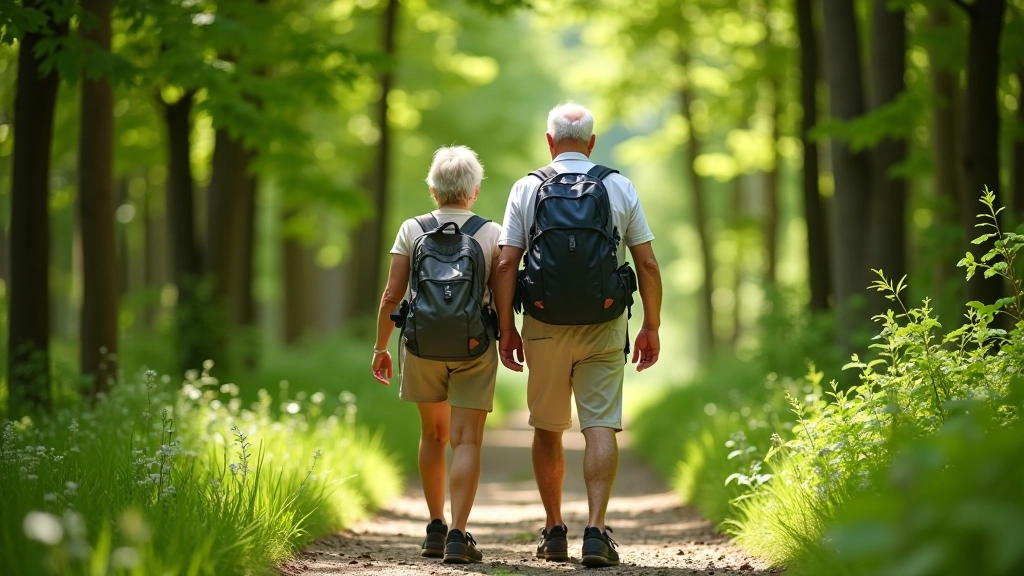
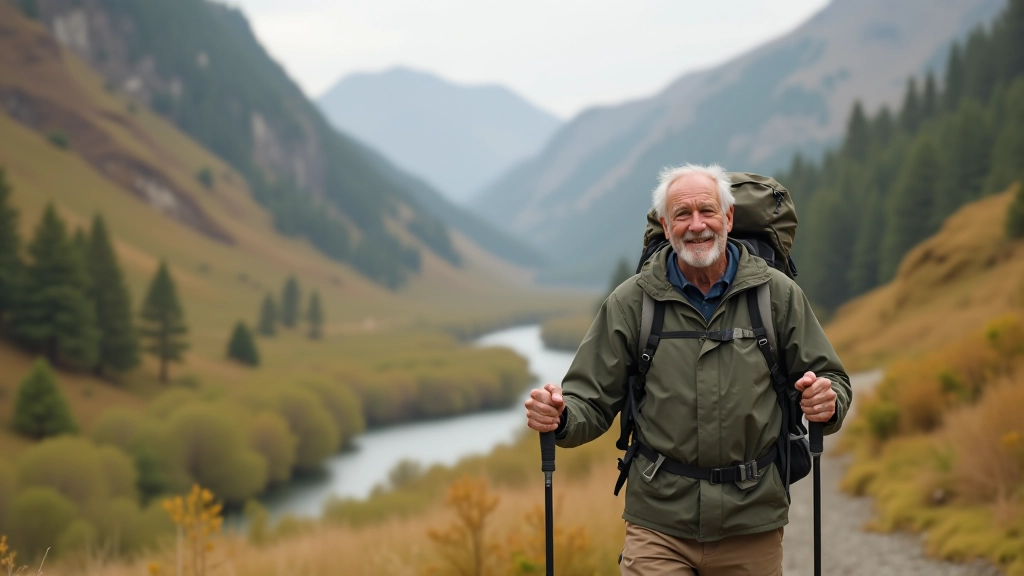
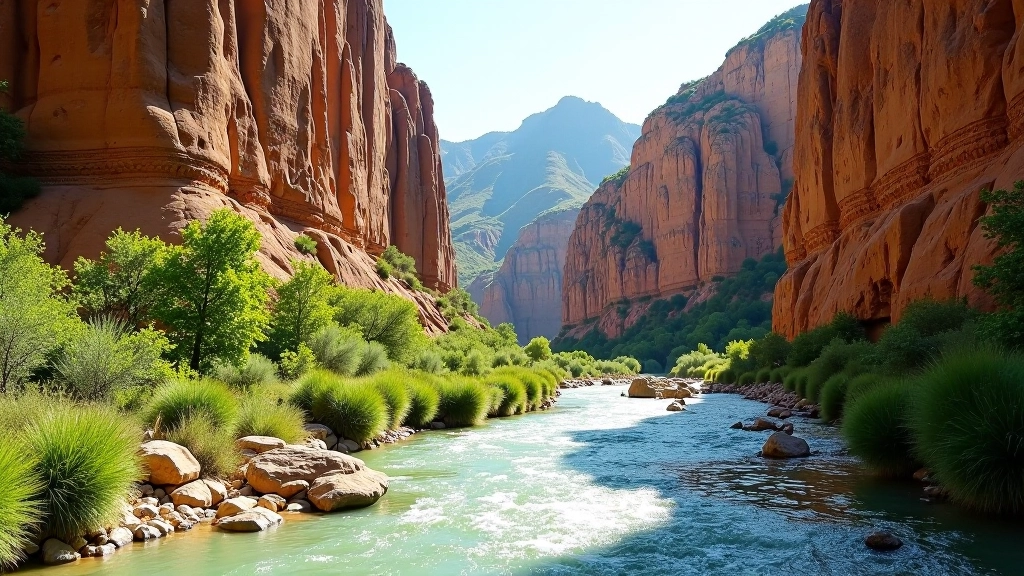
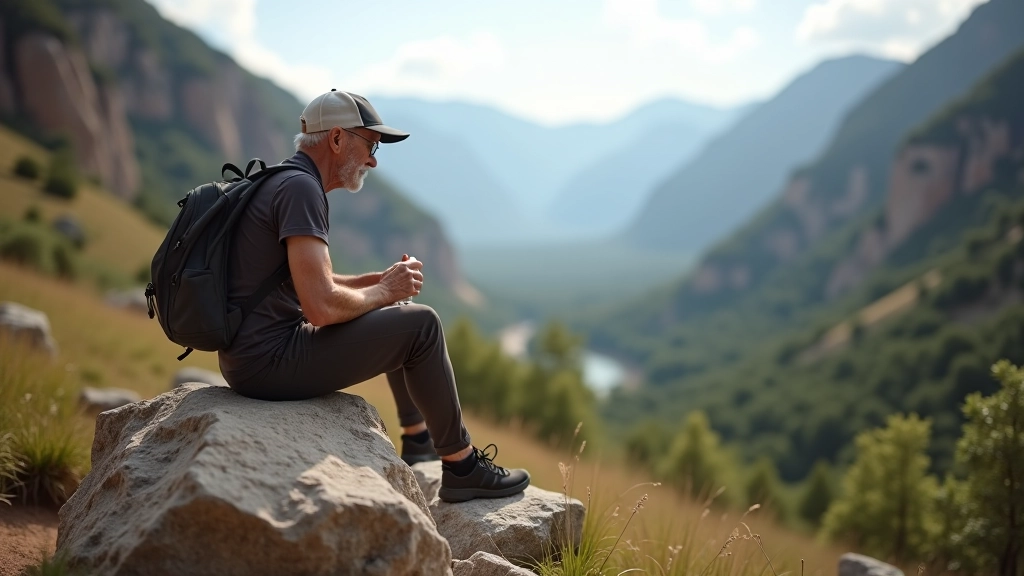
The Amata Canyon trails have some genuinely steep pitches. We've helped hundreds of hikers over 60 navigate them safely without aggravating old injuries. It comes down to footwork, equipment, and understanding your own pace.
The Three Core Techniques
- Proper foot placement and pressure distribution
- Strategic use of trekking poles for stability
- Pacing methods that prevent fatigue and strain
01
Mastering Footwork and Foot Placement
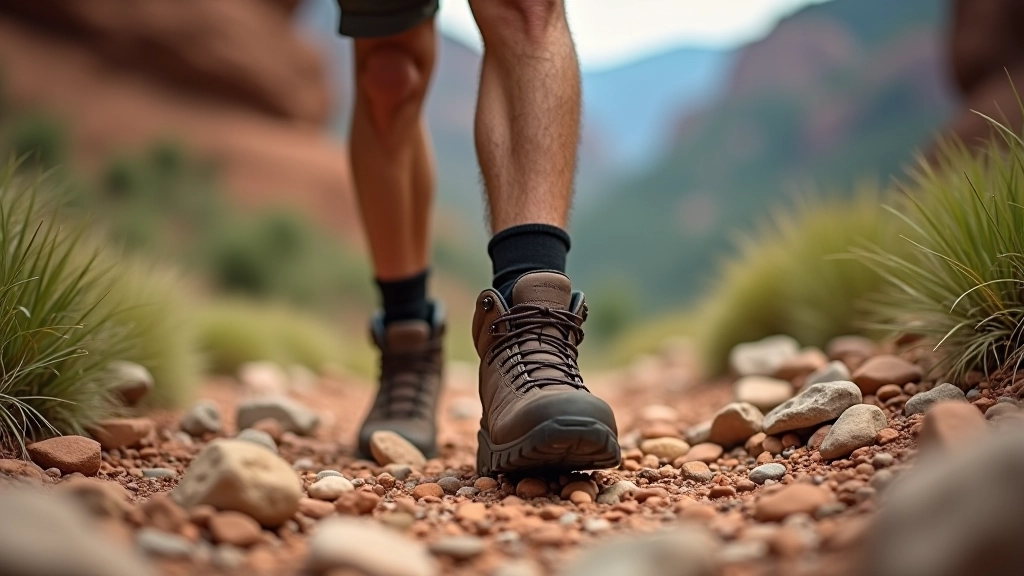
Your feet are your foundation. When climbing steep sections, most people lean too far forward, putting excessive pressure on their knees. Instead, you want to keep your weight centered and use your whole foot, not just your toes.
The technique is simple but requires practice. Plant your heel first when going uphill. This engages your larger leg muscles and distributes load evenly across your foot. Then roll forward through your midfoot and push off with your toes. You're not leaping — you're stepping methodically, almost like climbing stairs.
Coming downhill is where people really struggle. Don't lean back. It sounds counterintuitive, but leaning back actually puts MORE pressure on your knees. Instead, stay slightly forward, take smaller steps, and let your quads control the descent slowly. Many hikers report that once they learned this, their knee pain dropped significantly.
02
Using Trekking Poles Effectively
A quality pair of trekking poles isn't optional — they're your safety net. They reduce impact on joints by up to 25% when used correctly. But most people don't use them right. They'll either grip too tightly or barely touch the ground.
Here's what works: When going uphill, adjust your poles so they're slightly shorter. Plant them in front of you and pull yourself up using your arms and shoulders, not just your legs. You're distributing effort across your whole upper body. Going downhill, extend the poles slightly longer and push gently on them as you descend. This absorbs shock that would otherwise hit your knees.
The grip matters too. Hold them firmly but not white-knuckle tight. Your forearms should do some of the work. Many people grip with only their hands and exhaust themselves unnecessarily. Once you get the hang of it — usually after 2-3 hikes — using poles becomes second nature.
03
Pacing Strategies That Actually Work
This is where most hikers fail. They start too fast, get exhausted halfway, and push through pain on the way down. Don't do that. Your pace should feel almost embarrassingly slow at first. But there's a reason.
On steep sections, aim for 20-30 steps per minute. Count them if you need to. This rhythm allows your muscles to work efficiently without depleting glycogen stores. You're building sustainable effort, not explosive bursts. Yes, faster hikers will pass you. That's fine. They're the ones limping tomorrow.
Take micro-breaks every 8-10 minutes on steep terrain. Just 30-60 seconds. Doesn't sound like much, but it prevents that moment where fatigue suddenly hits and your form collapses. Once your form goes, injury risk skyrockets. Short breaks keep your technique sharp the whole hike.
Preventing Common Issues Before They Start
Knee Pain
Usually caused by poor downhill technique. Practice controlled descents on smaller trails first. Don't rush. Your quads should feel worked, not your joints.
Hip Strain
Often from uneven weight distribution or overextending your stride. Keep steps shorter on steep sections. Your hips should feel stable, not stretched.
Ankle Instability
Happens when you rush over rocks. Plant your foot fully before shifting weight. Trekking poles help here too — they give you three points of contact instead of two.
Building Confidence Through Practice
None of this happens overnight. You need to practice these techniques on progressively steeper trails. Start with gentle slopes, focus on footwork and breathing, and only move to steeper terrain once you feel genuinely comfortable.
Most hikers see real improvement after 4-5 hikes using these techniques. You'll notice you're less sore the next day. Your knees don't ache at night. You finish hikes with energy left over instead of collapsing. That's when you know the technique is locked in.
The Amata Canyon trails are ideal for this progression. The lower sections are gentle, middle sections have moderate slopes, and upper sections get genuinely steep. You can work your way up at your own pace.
The Bottom Line
Steep sections don't have to mean pain. Proper footwork, smart use of poles, and strategic pacing transform steep hiking from something you dread into something you handle confidently. These aren't complicated techniques — they just require attention and practice.
Start with one technique. Master it. Then add the next. Within a few hikes, you'll notice the difference. Your joints will thank you, and those steep canyon trails won't intimidate you anymore.
Ready to put these techniques into practice?
Explore the Amata Canyon Trail
Disclaimer
This article provides educational information about hiking techniques. It's not medical or professional advice. Everyone's body is different. If you have existing joint issues, previous injuries, or any health concerns, consult with a healthcare professional or physical therapist before attempting steep hikes or new techniques. Start slowly, listen to your body, and adjust intensity based on how you feel. Hiking carries inherent risks — always prioritize safety and choose trails appropriate for your fitness level.